Lessons
Class Introduction to How to Retouch Portraits Using Lightroom CC
01:46 2Getting Started: Setting Up Lightroom
09:31 3Retouching Blemishes
11:49 4Creating & Saving Adjustment Brush
09:56 5Eyes Selection
19:13 6Retouching Skin
12:15 7Teeth Whitening
03:09 8Comparing Texture & Clarity
03:32Lesson Info
Dodge & Burn
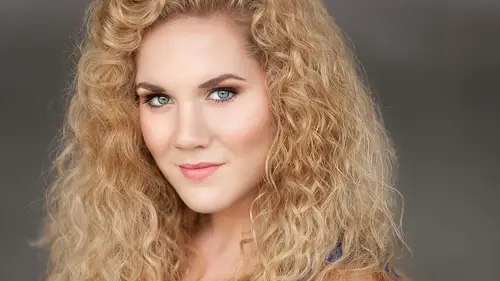
Dodging and burning is the same mentality in Lightroom as it is in Photoshop. Same mentality, same reasoning of why we do it. It's just done a little bit differently. With one brush, we're gonna just increase the exposure, just a little bit and we're gonna bring this flow way down. And then we're just gonna start brightening certain areas that we want the appearance of looking a little bit closer to camera. We're gonna have a nice, soft, feathered brush. We're just gonna start painting in those areas and evening out the skin that we see. So what we're doing is we're creating the illusion of three-dimension on a two-dimensional scale, right? 'Cause a photograph, at the end of the day, is just two dimensions but we still want our image to look vibrant and look bright and look as realistic as possible. So in that situation, what we would want to do is just amplify the illusion of 3D in our image. I always get a little bit quiet whenever I'm doing dodge and burn. It's my zen, my zen zone. ...
Do I have any questions while I am zen-ing out here? Zoning out. Particular areas that you're focusing on, how do you determine what needs more shadow or what needs more lightness? Is there a guideline you sort of follow? It's basically amplifying the shadow areas and, that's a great question. The shadow areas and highlight areas that are already lit by the face. You're just making it even more, even more visible. But then the other thing is that you have the luxury of getting rid of small peaks and valleys that may add the illusion of inconsistency in the skin color. So you're actually smoothing out the skin color as well. So we've done a little bit of dodging in that area so let's add another one, which is just the opposite. We're just darkening. And we're just gonna start that one there and then let's come in here and darkening certain areas as well. But that's a great question for a makeup artist because makeup artists spend a lot of their time contouring, contouring a face and they will tell you everything about why they darken some areas and why they brighten other areas. So, I would definitely suggest, if you hire a makeup artist or if you're working closely with one, say, can you talk to me about why you contour? 'Cause they call it contouring. So you can just say, can you talk to me about why you contour and what it does and what the objective is? And they'll tell ya. 'Cause it's really important but it's really important for you to know as well but if you go on YouTube and you Google contouring videos, you'd be there all day. There are so many but they're makeup based. They're makeup based videos. They're not necessarily Photoshop based videos but the concept, totally the same. So, always a good idea to check your work and check your progress. So let's hit our before and after. Just looks more illuminated, I guess? Just adding light to the face.
Ratings and Reviews
Laura
Great class, good, clear, easy-to-follow instructions. This is going to have a big impact on my workflow and save me a LOT of time - thank you!
Robin Spencer
Excellent! This program was short and sweet but packed with lots of very useful tips and tricks. I have been using Lightroom for years and still learned so much. All of her time saving tips especially "Sync" were really appreciated. Highly recommend.
JennMercille
As fast as Lightroom is growing and improving, it's a hard to keep up with everything it is capable of. Kristina did a great job of showing how to speed up workflow by retouching in ways that I though you could only do well in Photoshop. This class is super informative and well worth it!
Student Work
Related Classes
Adobe Lightroom